 Is your network cabling ‘organised chaos’ ?
Whilst WiFi is really prevalent in our homes now, many devices are best hard-wired for a truly reliable connection such as games consoles, WiFi access points, security cameras and Network Attached Storage devices (NAS).
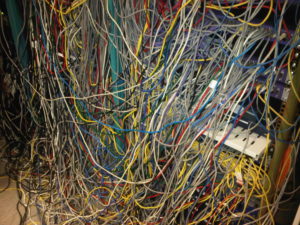
Having landed here, you’ve exhausted the ports on your router and outgrown your switch. The core of your network now resembles a mass of crazy cabling rather than the organised bliss you swear you will have one day, so it’s time to get yourself a patch panel and data cabinet!
Sounds simple, and it is! Now you can rackmount all your networking hardware neatly in one cabinet. The key to keeping things organised is the Patch Panel. It brings order and clarity to your network so you can tinker with it confidently, rather than worrying whether you’re about to unplug the wrong cable.
What is a patch panel?
A patch panel is a termination point for cabling coming from the different ports around your property, whether they be switch ports or Ethernet points in the wall. A patch panel is neatly rackmounted in a data cabinet and is designed with a clear labelling system for complete clarity.
How does a patch panel work?
To best understand how it works, we can liken a patch panel to the old-fashioned telephone switchboard. The operator used to patch one caller through to another using cables on the switchboard to connect the two people’s telephones. Here, you patch devices through to eachother via patch cables on the patch panel, to connect them to the Internet via your switch and router.
How to use a patch panel
A patch panel has punchdown blocks at the back, and Ethernet ports at the front. Use the punchdown blocks to connect each run of Ethernet cabling into one central place. Once the wiring is neatly terminated it does not need to be altered from this point on. The cables are ready and waiting on the panel, for you to patch into them from the core switch, thus providing an Internet connection.
In front of each cable you’ve punched in, simply plug in a short patch cable from the main switch in the cabinet. Now, all the ports around the house have an Internet connection for your network devices to plug into.
Naming your household uplink ports
Around your home, you need to mark a number on each of the main ports. ie only the ones where a cable will link back to the data cabinet. Let’s assume that in the study, you have a homeplug with a 5 port switch connected to it for your devices. The unique number will need to be assigned to the homeplug port, as this is the one that links up and feeds a cable all the way back to the data cabinet. (The ports on the switch are irrelevant for this exercise). Note down all the unique numbers as you continue naming the main ports throughout the property.
Labelling your patch panel
For each port on the patch panel, write a logical name that corresponds to the location of the cable. For example, the ‘Study Homeplug port 1’ on your list, might have a label name of ‘STU-HPG-P1‘ on the patch panel. Now, you’ll be able to see at a glance, which cables connect to which port locations in your home.
If you’d like to speak to a networking expert to create the kind of home network you’ve been promising yourself, please call us on the number below. We look forward to helping you.
0207 112 0095
